Wednesday, December 26, 2012

CMW- Lawn Fawn

Hey Guys!

Merry Day after Christmas! I hope you all are doing great, I Know I haven't Blogged in FOREVER.

But I have about 3-4 videos pre done, for the next few weeks :) I know you all better be proud.

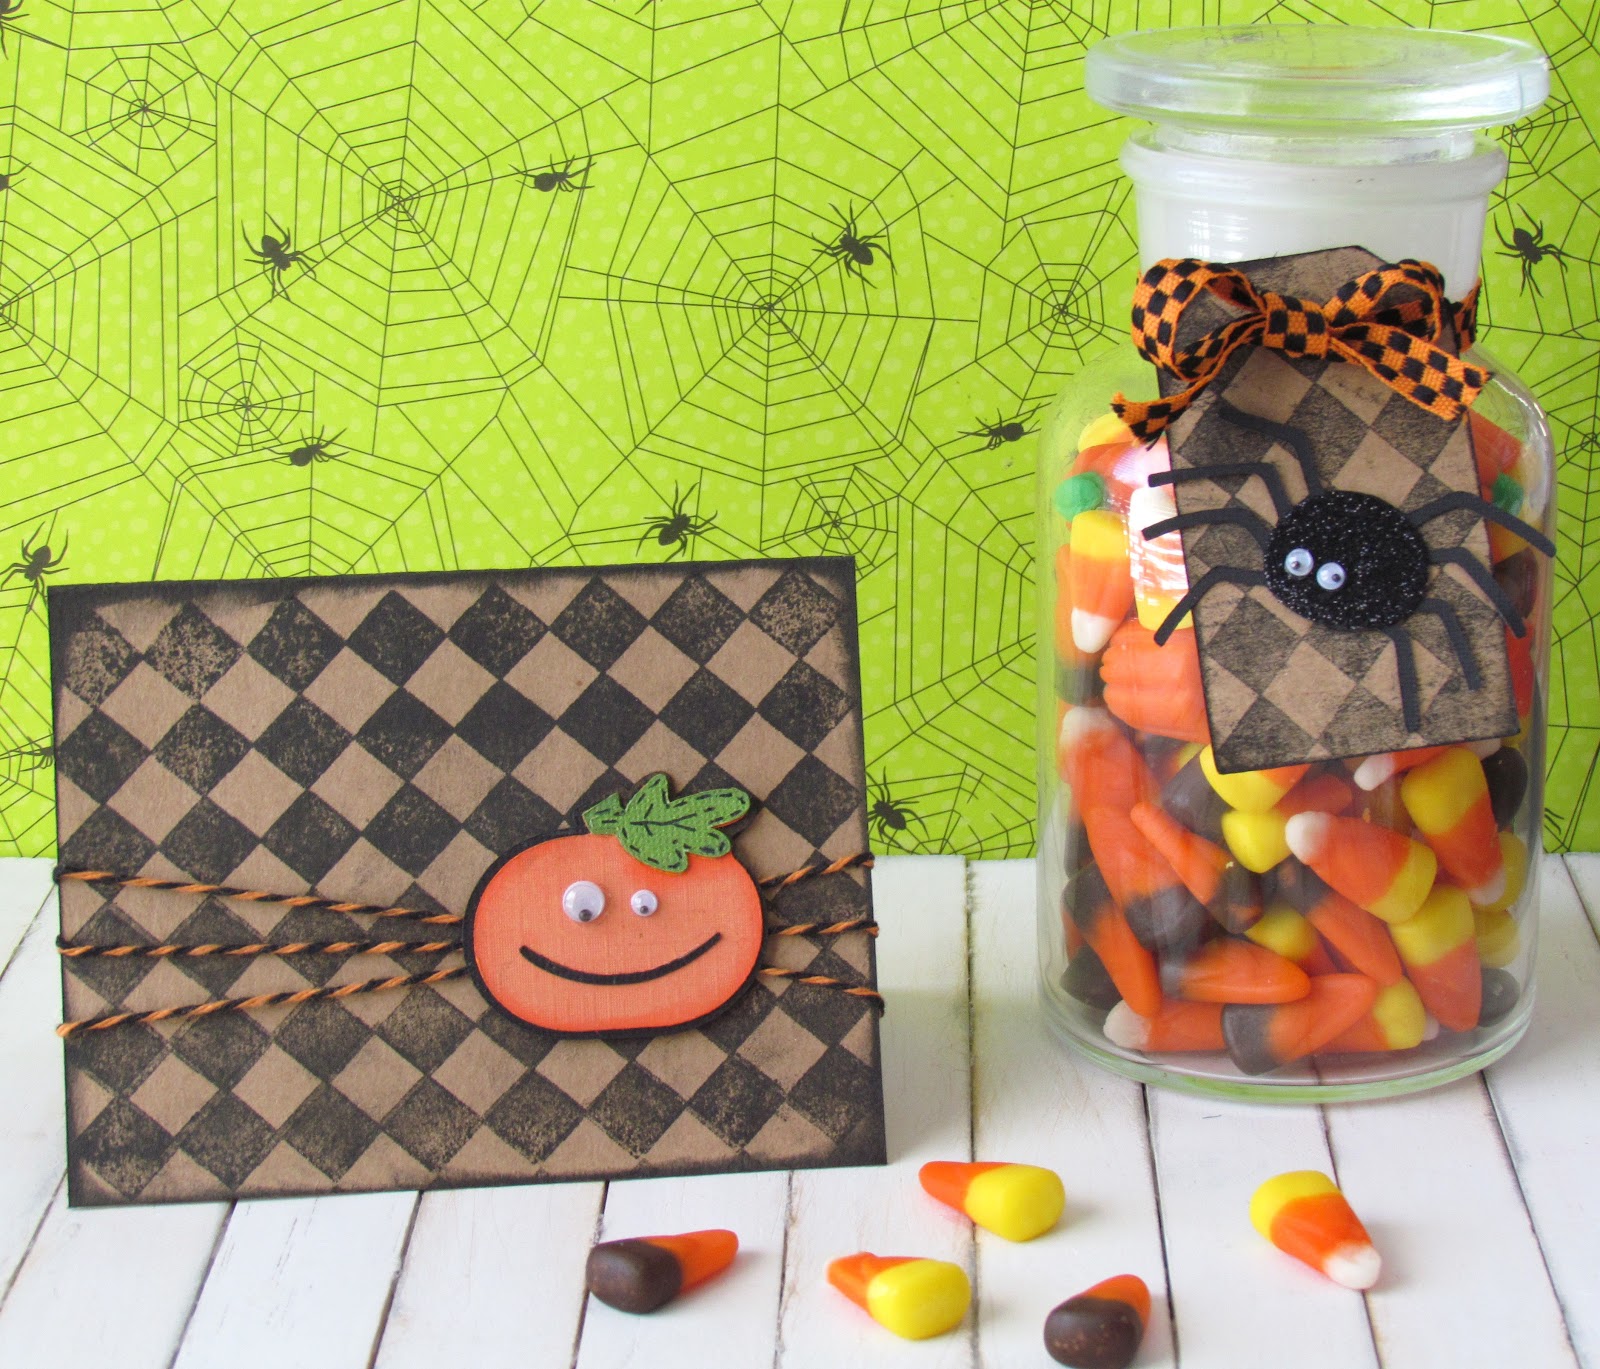
In Today's video I'm featuring Lawn Fawn Paper!
I really love this paper and I love the owners, That I got to meet at CHA summer 2012! 


The Sentiment you see is from Hobby Lobby, But you can use any sentiment from your collection.


So I hope I inspired you to make a really cool card and make sure to come back here EVERY Wednesday for card makin' Wednesday!  I'm still trying to get my DIY Friday stuff done.

It's really crazy how I do so many different videos, from my Vlogs, and producing videos for other companies, Its pretty crazy! But I have SO much fun doing it. I hope you all bare with me as I get my "Work" together, If I haven't replied to your email PLEASE resend it and I will reply! I will so un-connected. I'm working really hard on everything because I know CHA is CRAZY and I want everything else to be took care of.


Have a GREAT DAY!!


Wednesday, December 12, 2012

Winter Wonderland/ Card Making Wednesday

Hey Guys! So I have been super busy lately and not really anything to do with the Holiday season. I've been sick and just a lot has been going on... So today's video I've made a really fun card! 


So I hope you enjoy today's blog post and Video Tutorial! :) 

Have a GREAT DAY! :D 


Wednesday, November 28, 2012

Card Makin' Weds-Happy Birthday!

Hey Guys! Happy Wednesday! Only two more days after this and its the weekend! So I hope your having a pretty good week, It's super cold here. But its suppose to warm up this weekend so it all good! 

But let's jump right into today's post! 
I made this card yesterday and It ALL came to me as I was itching to make a card yesterday morning! I LOVE this card! You really should watch the Video to see how it was made and how awesome it is.
Click HERE to watch on Youtube (You will see it a lot better!)


Here's what you will need : 

Card base 4-1/2 by 11 before scored (4-1/2 by 5-1/2 scored in the middle at 5-1/2)
Autherntique paper Pack 
Random Hobby Lobby stamp set 
Zing Embossing powder 
White Gel pen 
Adhesive of your choice 
Embossing Pad 
Fiskers border Punch 

After you go around the craft room and gathered all the Supplies lets get started! 

1. Score your card base at 5-1/2 
2. Cut your layer paper 3-1/2 by 5-1/2 (This is the white paper you see on my card)
3. Take your fiskers border punch and punch about 6 inches long (gives you room to cut off the edges of the layer) 
4. Attach the border punch to the side of the layer using adhesive 
5. Put your layer paper down with your border on the side down to your card base, Make sure its all even around all four edges! 
6. Stamp with black ink your Candles stamp, Then Color with your choice of marker/Colored Pencils
7. Stamp the happy Birthday with embossing ink, Then take the embossing powder over it. It's nice to have a scratch paper for all the excess Embossing powder to go. 
8. I cut a banner out of the paper pack with a par of scissors, You can do the same or if you don't have to paper pack get creative! I'm sure theres something in your craft room that will work :) 
9. Take your Jell Pen and make tick lines around the edges of the card base, Its a great affect to really pull the card together! 

Hope you enjoyed today's tutorial! 

Hope you all have a GREAT Week and see you back here Friday for a really awesome DIY Project! 


Wednesday, November 21, 2012

Card Making Wednesday


Hey Everyone! 

Today I am so thankful to be guest designing for Card Making Wednesday for Tanner! I have 2 cards to share with you today! Last night I pulled out my scarps and made lots of cards, I am going to share 2 with you today, and the rest another day! It was so fun using scraps, and I actually really like a lot of them! 


This first card was SOOOO simple! I cut thin 4" strips and adhered them to a piece of printer paper, stamped my sentiment on the top one, and added some beige twine with a "bow". I then stamped some hearts in pale ochre Archival ink down the left side! 


This second card is also quite basic! (if you didn't know I am a very simple card maker!)
If you look closely you can see, I used a technique Tanner shared in this awesome video HERE


 Thanks for joining us today and Have a very Happy Thanksgiving! 
~Court


Thursday, November 15, 2012

EXCITING NEWS! :)


What's Up Guys?! 

I am going to share a LOT of Exciting and FUN news with you today!! :) 

I have been sick and sorta out of the "Loop?" this week. Being REALLY sick just for like a day and a half really stinks! Anyway, Megan from Above Rubies Studio where I do TNT videos every once and a while.. I am SOO Excited to being doing a video/Post EVERY OTHER Thursday doing a TNT (Tip and Trick) video! How exciting is that?! I really love working with Megan and I've knew her for about 3 years and been talking to her for almost a year and a half! 
So make sure to go over every other Thursday and theres always awesome posts by Megan too! :) 

Now Make sure to check out Megan's Video HERE to hear about all the exciting announcements! She's gots LOTS planned! We ALSO have a GREAT Giveaway of a DIE CUTTING Machine... So MAKE SURE to check it out!!!! :) 

Alright, Hope you have a great day and Hope you are just as excited as me :D 


Wednesday, November 14, 2012

Card Making Wednesday!

Hey Guys! I've been awful sick since Tuesday morning around 3am.. I won't get into details but I've felt AWFUL! 

Anyway Here's a video I Pre-Recored for Today! 


It's a REALLY fun and simple card, Just a different sketch which will make people think it took longer! Haha! 

Hope you all have a great day and feels a lot better then me! 

Friday, November 9, 2012

DIY Friday, Christmas Box!

Hey Everybody! I really love this DIY Friday video/Post! It's really fun and I enjoyed it a lot! 

In this video I'm going to show you how to make a really simple box to store your Holiday cards for the season. 

What you will need : 
-Scoring board ( I used a Martha Stewart one)
-(2) 12x12 sheets of Card-stock
-Adhesive 
-Scissors 
-Embellishments (Only if you want to decorate your box!)

After you've gathered your items, Let's get Started! 
1. Score your first sheet of paper at 3in and score at 9in 
2. Turn the paper and score the paper again at 3in by 9in 
3 Take the second piece of paper and score at 3in by 9x1/8in 
4. Turn the second sheet of paper and score at 3in by 9x1/8in
5.Take your scissors and cut a line from each corner of BOTH sheets of paper, Make sure to stay on the scored lines! 
5. Put adhesive on the flaps of where you cut, and start making your box stand up.You will have to do this to both sheets of paper, then you will have two half boxes! 
6. You can decorate your top part of your box or leave it blank, Your choice! 
7.That's it! Enjoy your box :D 


I Love this finished project! :) 


Notice how I used Megan Elizebeth Chipboard stickers? I LOVE THEM! :) 

Hope you all have a Great day and enjoy the weekend! I will be doing a lot of stuff! 

Saturday were going to the Zoo then Sunday we have church, Then after a lunch I'm getting Baptized with my two Cousins! :) 

Thanks for stoppin' By! 


Wednesday, November 7, 2012

Card Making Wednesday-Birthday/Halloween!


Hey Guys! Yesterday was my moms birthday and in todays video I show you how I made it! I Really enjoyed making it and I was inspired by Kristina Warner! She's hands down the best card maker/ Video teacher! :) 


Click HERE to watch on Youtube


Make sure to Check Kristina out HERE!         Click HERE for the Candle Cameo file made for you all, By Court from Courts Craft corner!  All you have to do is download it and open the file, Then cut it :) 
Below is what I cut from the Cameo : 


Here's another card we made Featuring these Awesome Candles! All you do is cut Rectangles and then use your cameo to cut the Flames! So again its a great file to have. Pick it up HERE


Now, We have a SPECIAL Guest Designer, Julie Ranae


Even though Halloween was a week away, I think this is a GREAT card! I absolutely LOVE it. Julie used Diamond/Chevron Grunge set, Check it out HERE 

I love how she stamped right onto pattern paper! :) So make sure to go over to Julie's Blog HERE and check out all her other amazing Projects! :) 


So I hope you enjoyed all the awesome stuff that I showed you today! :) Make sure to have a great day. I hope you enjoyed it. 

Monday, November 5, 2012

No more stamps- Bitter Sweet.

Hey Guys -- 

So I won't be doing anymore stamps :( It took so much time and effort and never got a good enough return. I feel I could be doing something SOO much better and getting a even better return, I Know lots of you love the stamps! But there are lots of other stamp companies out there. 

I'm really excited about what I will be doing now :D I will be doing videos and working with other crafters in the industry.  BUT we have a really great sale going on for you! :D 
ALL The stamps that are still in stock are ONLY 10 DOLLARS!!!!! :) 

So go over to the store and check it out HERE! This won't be the last time seeing me for Sure!!! :) I have lots of other things I will be doing, I will be at CHA doing videos and finding all the NEW awesome products. 

I still love designing and I've learned so much. I used to get lots of emails about how to start a stamp company, So if you need any help starting a stamp company or any questions please give me a email at Tanner@tannerbelldesigns.com and I would be happy to help you and give advice :D 

I will be doing lots more of awesome-ness and excited to get started! 

ALSO-- If you own a Mr.Cricut Crazy "Birthday, Birthday" I have a REALLY GOOD friend that would like to buy it from you! :) So If your interested please email me with what you would sell it to her for! :) 


So I hope you all support me threw my change and Hope you have a GREAT day! :D 

Friday, November 2, 2012

Canvas Home Decor - DIY Friday!


Hey Everyone! Today for DIY Friday, I've Decided to put paper on Canvas. Now when I thought of the idea, It didn't sound fun at all, BUT believe me, It is TONS of fun!!! :D I will be doing these a lot because there so easy to do if you have the right steps, Which I show in the video below. 

What you will need for this project : 
- Canvas (I used a 10x10 Canvas Corp Canvas)
- Mod Podge of your choice 
-Pattern paper of your choice 
-Sponge Brush for applying the mod podge! 

With those four simple things you are ready to get started making this! 

First, Take the mod Podge and cover your canvas. 
Second, take the paper and put it face down, With the Pattern facing the table. 
Third, take the canvas and put on top of the paper (Make sure its lined up!) and apply FIRM pressure! That is the best way to not get air bubbles 
Lastly,  Put One or two coats of mod podge on the paper to give it that great finish! :) 

Now you can make a couple of them for a Quick Christmas gift, Decoration around the house, The possibilities are endless! 

Enjoy the video : 


Click HERE to watch on Youtube. 


Let me know how you liked this tutoriel! Hope you have a GREAT day! 

Wednesday, October 31, 2012

Card Makin Wednesday!


Hey Guys! 

So my videos have been very supra-tic this week, Monday I couldn't upload my video. Tuesday was VERY busy PLUS I got saved **SOO happy :)** then today, we had to go sit with my cousin Earl because his dad (Harold) had a day surgery..Then tonight we had revival! But I promise next week will be really fun! 

Anyway-- My Designer Britten has made a SUPER cool card! 


Pattern paper is Paper Layerz by Megan Elizabeth. All ink is Ink Edgerz - Limelight and 1am (also by Megan Elizabeth). Cuts are from Happy Hauntings Cricut cart. Brads from my stash. That the sentiment is from Close to My Heart...background stamp from Tanner Bell Designs :) More info about this card will be posted on my blog on Wednesday. TwoAtATimeDesign.com 


Hope you all have a great day, Thanks for stopping by! 


Tuesday, October 30, 2012

Designer Tuesday!


Hey! 

So I hope you all have a great day and had a great day yesterday too! :) So tonight I got saved-- I will be doing a video ALL about it very soon! 

But Anyway my Designer Ruza has a really great Project to share with you today! 


She used Diamond/Chevron Grunge! Which you can pick up HERE !

Make sure to go over to her blog and read ALL about how to make this project :) It's a Great way showing how the stamps can be used. 

Hope you all have a GREAT Day!!! :) 

Monday, October 29, 2012

Cameo Monday!


Hey Everyone!

Welcome to the first Product Review Monday and sort of Cameo Monday!

Link to Watch video: http://www.youtube.com/watch?v=2X46F3EylnE&feature=g-user-u

And here is Court's cameo card: 

The stamp is from the  It's a Baby set

Friday, October 26, 2012

DIY Friday! Everyday Frame!

Hey Guys! 

Happy Friday, Today I am sharing with you a really simple Everyday frame that you can make probably under $5 this Cheap and fun Craft is REALLY simple so I would recommend this for any crafter. 

 Click HERE to watch on Youtube. 

I really enjoyed this simple DIY Project! I really loved doing this earlier this year! 

Now if you all knew, Tuesday was my 14th Birthday! 

My mom came to my studio and asked me to assist her making my birthday card, Of course I accepted! 

Here's how it turned out, I LOVEEEE IT! 


Here is Court's Frame: 


Have a Great day! 

Thanks for watching! 


Thursday, October 25, 2012

Guest Designer Holly!


Hey Everyone!
Hope you are all doing well and having a uplifting and crafty week! Today we have a very amazing, sweet, talented, and creative guest, Holly!! She has created some really fabulous projects to share with you today! 

Here is Holly:

 Holly here from Ribbons & Glue as Tanner's Guest Designer today sharing a few projects that I made using his new background stamp set.  

 
 I used Tanner's new Diamond background stamp to make a Halloween card and a tag to complete my Apothecary candy jar which BTW, just happens to be full of my favorite candy corn Harvest Mix- Yum!
For my card, I used the diamond background to stamp the image onto Kraft paper, added a little pumpkin die cut from Mini Monsters and then wrapped the card with some orange and black twine. 
I used the Diamond background stamp again for my tag which is cut from Tags, Bags Boxes and More and added a glittered spider die cut from Doodlecharms.

Check out these new background stamps of Tanner's....Diamond and Chevron= Pure Awesomeness!
              Thanks Tanner for having me as a guest designer!
Like Me on Facebook!

Seriously, isn't that so cute!?! I love it, not to cutsey cuetsy, but not too scary or creepy either! Thank you so much Holly! Now, everybody go over to Holly's amazing blog and leave her some love in comment form!

And don't forget to check back here tomorrow for DIY Friday!!

~Court